Bring in photos
Import & organize photos brings a batch of photos into Poof! and helps you sort them into items. Open it from the side pane: Bring in › Import & organize photos. Home also has an Import & organize button.
If you have photos of just one thing, New listing is quicker.
1. Choose the photos
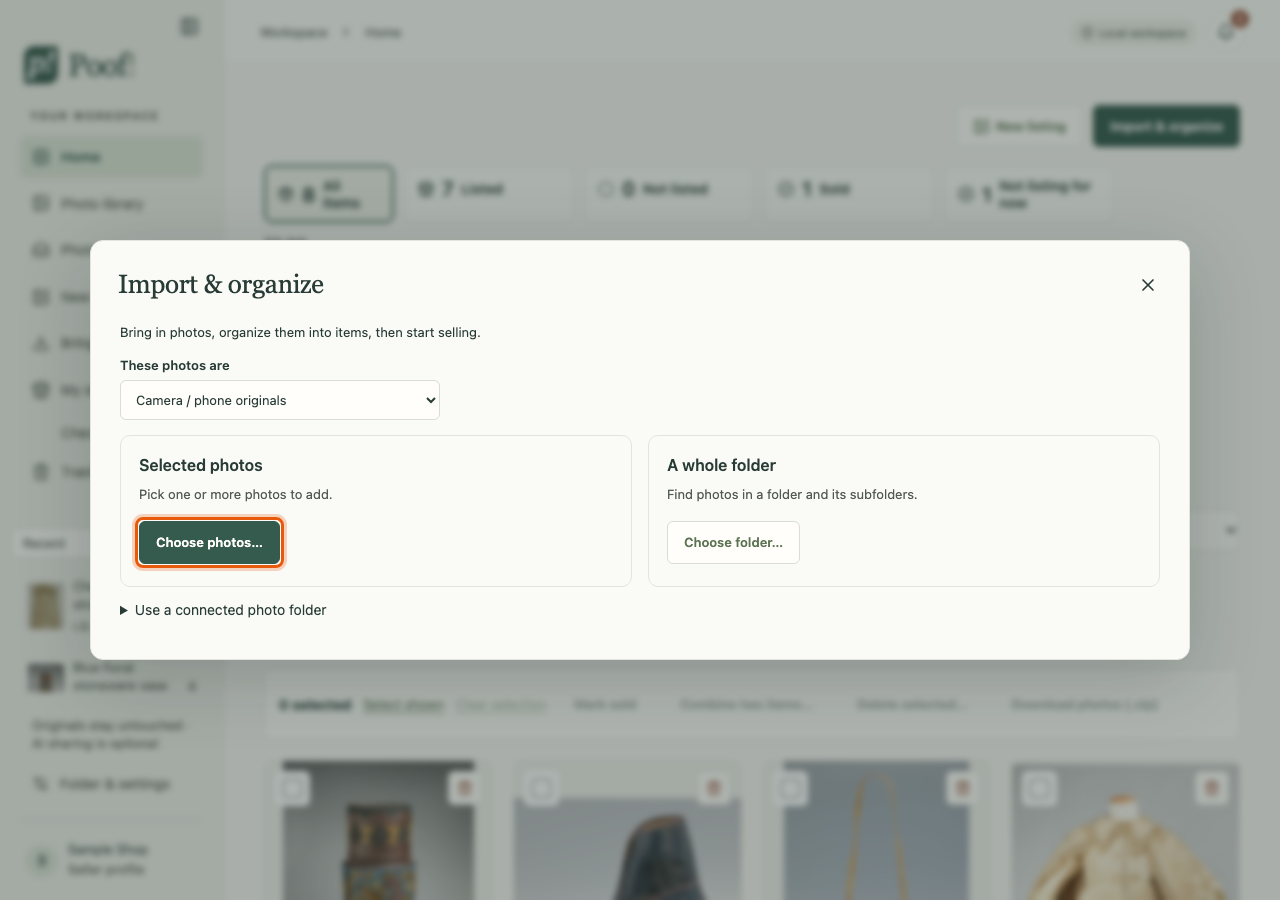
- Choose photos… picks one or more photo files.
- Choose folder… finds every photo in a folder and its subfolders.
- Use a connected photo folder works with a folder you connected in setup. Press Scan this folder to read new files first.
Tell Poof! what kind of photos they are: Camera / phone originals or Already edited real-item photos.
Poof! keeps its own copy of the photos you choose. The files on your Mac are not moved or changed.
Photos from the Mac's Photos app
Don't drag photos out of the Photos app into the browser: Photos hands over small previews instead of your full photos. Use Choose photos… and pick Photos in the window's sidebar, or export the photos from Photos first (File › Export).
Some filenames are already in Poof!
If some files have names Poof! has seen before, it stops and shows them under Some filenames are already in Poof!. Each one says where the earlier file is.
- Exact copies are always skipped.
- Cameras reuse names, so a file with the same name can still be a different photo. Tick it to import it anyway.
- Press Import N files to go on. If nothing is new, the window says so and the button reads Done.
2. Group the photos into items
Poof! shows the photos you chose, all ticked. Untick any you want to leave out of this round.
You now have two ways to make items:
- Group with AI…: ChatGPT looks at the photos and proposes which belong together. This needs ChatGPT switched on, and the window says exactly what is sent before you start. Under How many items? choose Automatic or Set a number. Then press Organize photos. Progress is saved as it goes, so you can close the window and come back.
- Organize without AI: press Selected photos are one item to make one item from the ticked photos, or Group manually to build the groups yourself. Nothing leaves your computer.
3. Review your items
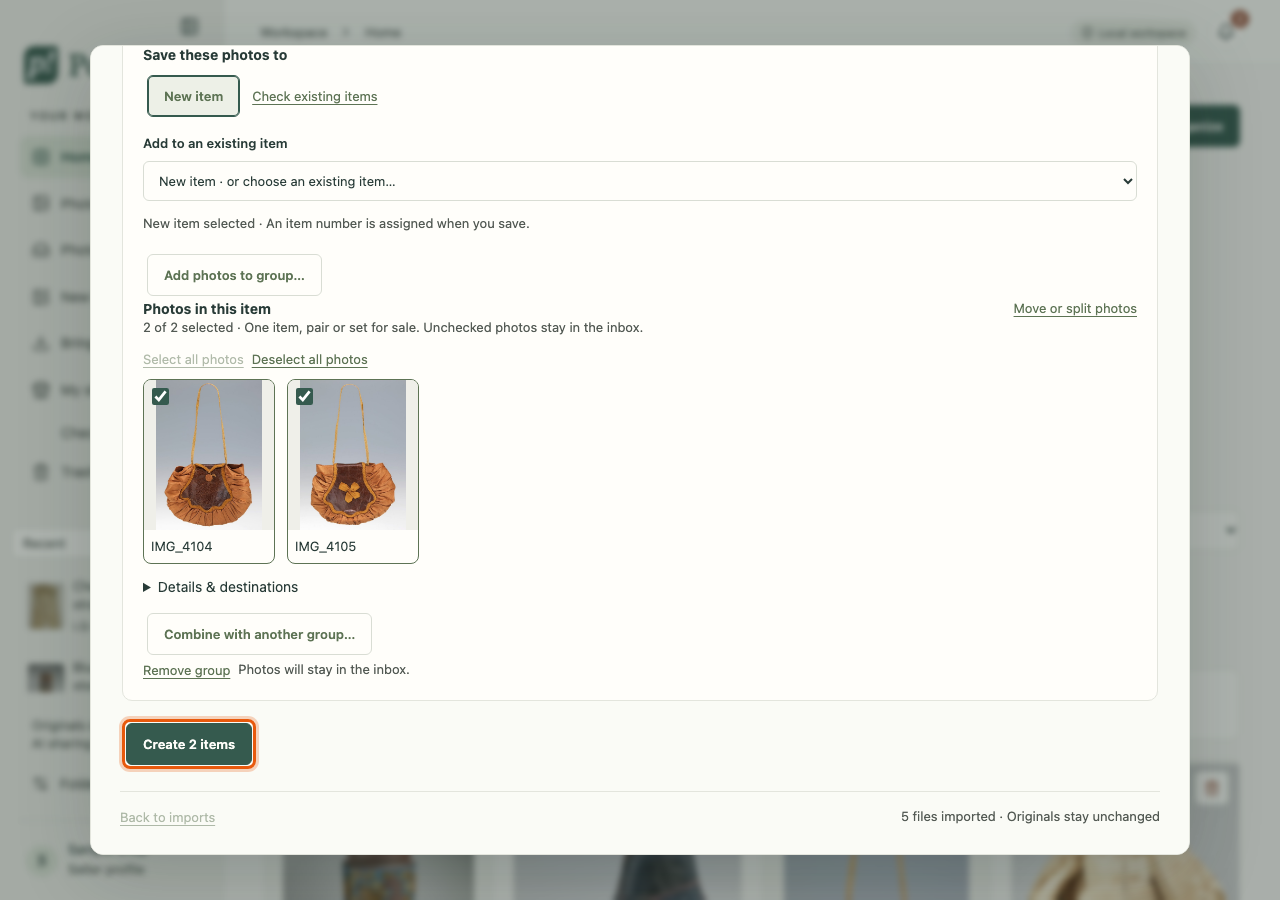
Under Review your items, each group becomes one item. For each group you can:
- type an Item title and choose a Selling category;
- untick photos that don't belong (they go back to the inbox);
- use Move or split photos to move photos between groups;
- use Combine… to join two groups that show the same thing;
- press Add item group to start another group.
Each group makes a new item unless you choose an existing item for it. To look for one, press Check existing items. It searches your saved items on this computer by wording and records, not by looking at the photos, so treat its suggestions as clues.
Are these the same item?
Before creating items, Poof! checks whether any two groups have similar titles or details. If so, it asks Are these two the same item? Look at the photos, then press Same item — combine these or Different items — create them separately. While the question is open, the create button reads Answer the question above first.
Keep uncertain photos for later
You don't have to place every photo. Photos you leave out of every group stay in the Photo inbox, ready for another time. Leaving a photo out never deletes it.
Save the review
- Save review for later keeps your groups so you can stop and come back. Find the review again with Resume review in the Photo inbox.
- Create N items (or Save reviewed items when a group goes to an existing item) makes the items. Then See new items shows them on Home.
Where the photos go
- Photos you placed in an item appear on that item's Photos tab.
- Photos you didn't place wait in the Photo inbox under New imports.
- If your photos came from a connected sorting folder named
00_SORTor00_to_sort, pressing Finish sorting moves the sorted files into their item folders, after checking each file. Photos you didn't sort stay where they were. See Organize item folders.